I recently started a new weaving project, and have worked diligently to remove all threading errors, some were easy – the threads were just twisted between two heddles, and it was an easy fix.
But I have a small section that is all kinds of messed up, I have no idea what I was thinking and the fix isn’t so easy. Enter String Heddles…
String heddles can be used to move the warp pieces to any shaft that I need them at, and are a cheap way to perform this repair – commercially made heddles that can clip in to fix this situation are upwards of $4 each.
The easiest way to create string heddles is to use a jig. And since this is a new to me, I figured I would document the process of making the jig.
Materials Needed
- A heddle from your loom
- Pencil
- Scrap wood
- Nails (4)
- Hammer

The first thing you’ll do is hold your heddle to the scrap wood, and use the pencil to mark the eye and both ends of the heddle. This will help you create string heddles that are the correct size without needing to measure every time.
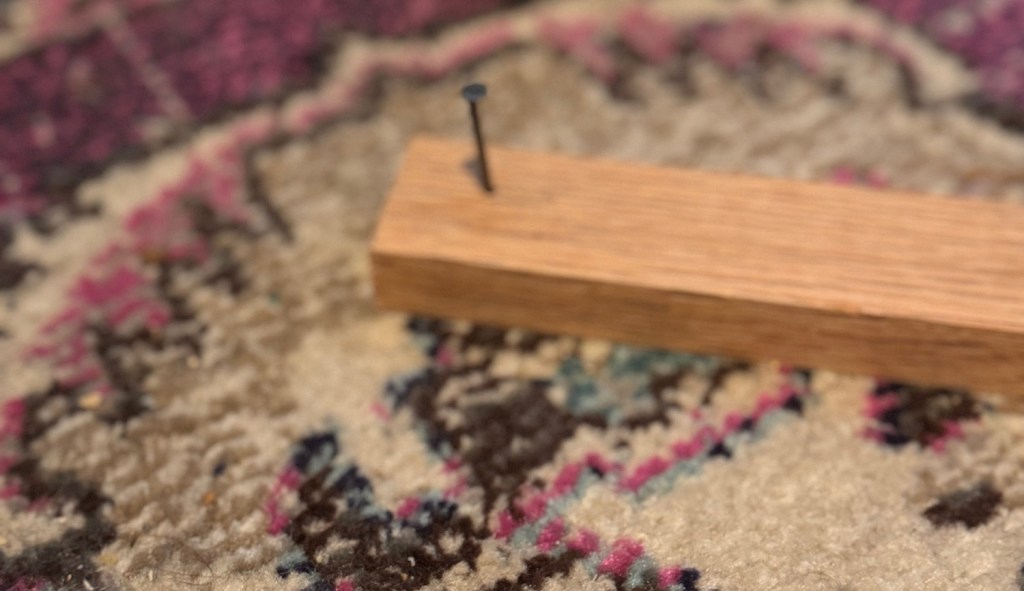
You’ll drive a nail into the ends of the pencil marks to give you the overall length of the heddle.
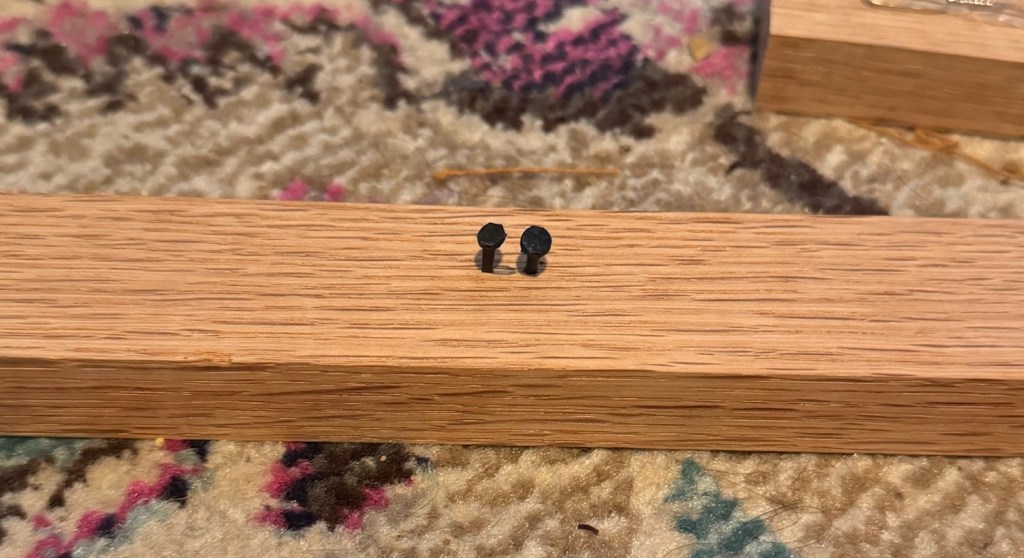
Then, you’ll drive two nails into either side of the eye mark, so you’ll know where that should sit on the heddle. I used smaller nails for this part, but you could also use finish nails that don’t really have a head on them for a similar effect.

Ta-dah! You now have a jig that you can use to make an unlimited number of string heddles with. And I’m off to make about six of them to fix this threading error so I can get weaving – my favorite part.


Leave a comment